Installation
Adding a DXFReader.NET Component to the ToolBox
To add a DXFReader.NET Component to the Visual Studio ToolBox, display the ToolBox and select the Components tab. Right click on the Components pane and select Choose Items from the pop-up menu displayed.

A dialog box is displayed listing the currently installed components. Ensure that the .NET Framework Components page is displayed.
Push the Browse button and navigate to the location where you have installed or copied your DXFReader.NET component and select DXFReaderNET.dll.
Then push the Open button.

The list of installed components is now displayed, including your DXFReader.NET component (named DXFReaderNETControl). Ensure that the checkbox alongside the component name is checked. Now push the OK button.
The component appears as an icon on the ToolBox Components pane. Now you can put it on your forms as usual.
Unfortunately, it is not possible to add the DXFReaderNETControlWinForms component to the Toolbox palette when developing a project targeting .NET 8 or higher. If you attempt to reference this component in the Toolbox, it will appear grayed out, as illustrated in the image below:

The inability to add a .NET 4.8 component to a .NET 8 Toolbox arises from fundamental differences in the runtime and framework compatibility between .NET Framework (used by .NET 4.8) and .NET 8, which is part of the .NET Core/.NET ecosystem.
There is a simple workaround:
Start a new .NET 8 or higher project:

Right click on "Dependencies" line on "Soultion Explorer":

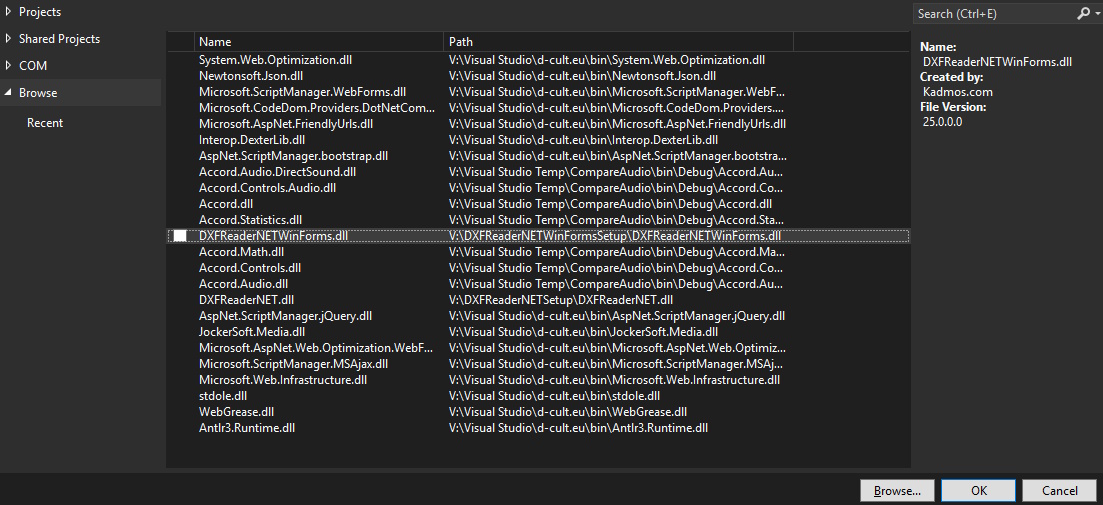
Browse and add the DXFReaderNET dll:

Open the "Form1.Designer.cs" file and add the code lines showed below:
private void InitializeComponent()
{
this.components = new System.ComponentModel.Container();
this.AutoScaleMode = System.Windows.Forms.AutoScaleMode.Font;
this.ClientSize = new System.Drawing.Size(800, 450);
this.Text = "Form1";
//Add the following 2 lines
dxfReaderNETControl1 = new DXFReaderNET.DXFReaderNETControl();
Controls.Add(dxfReaderNETControl1);
}
#endregion
//Add the following line
private DXFReaderNET.DXFReaderNETControl dxfReaderNETControl1;
You wiil find the DXFReaderNET Component on the Form1:

You can change initial properties of the control directly on the properties window:

You can easily add new instances of the control by simply copying and pasting it.